Difference between revisions of "Modbus TCP"
Jump to navigation
Jump to search
(Created page with "<p>MODBUS TCP allows integration with devices that have this interface. </p> <H2>Adding MODBUS TCP</H2> <ol> <li>Authorize yourself in the Web Toolbar of the Smart Home system...") |
(No difference)
|
Revision as of 10:09, 17 September 2021
MODBUS TCP allows integration with devices that have this interface.
Adding MODBUS TCP
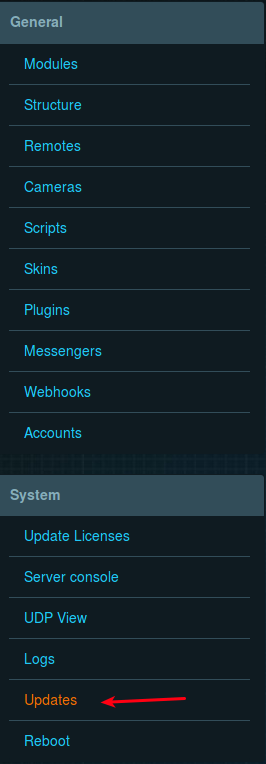
- Authorize yourself in the Web Toolbar of the Smart Home system administration (LT Setup) and select the Updates page in the menu.
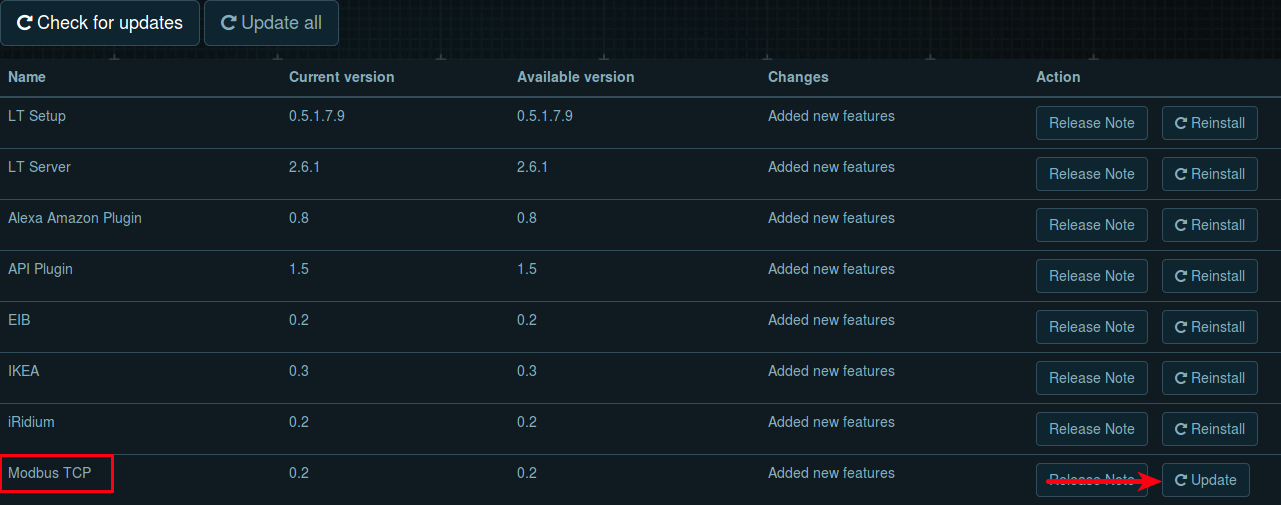
- In the list of updates, find Modbus TCP and click the Update button (if the plug-in is not installed, there will be the Install button – click it).
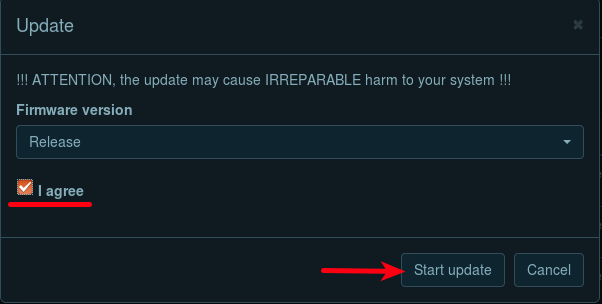
- Read the warning, tick the box next to “I agree” inscription and click the Start update button.
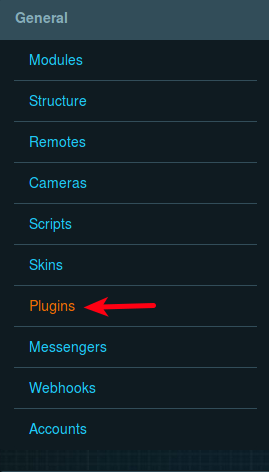
- When the update is complete, select the Plugins page in the left menu.
- Find the Modbus TCP item in the list and look whether the Enable inscription is located next to this item in the License column. If yes, then click on the Enable button, and then click OK in the window that appears.


- To configure the plug-in, click the Configure button.

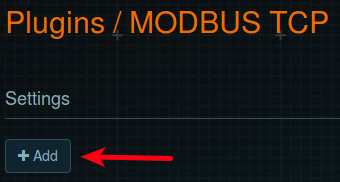
- In the window that appears, click the Add button.
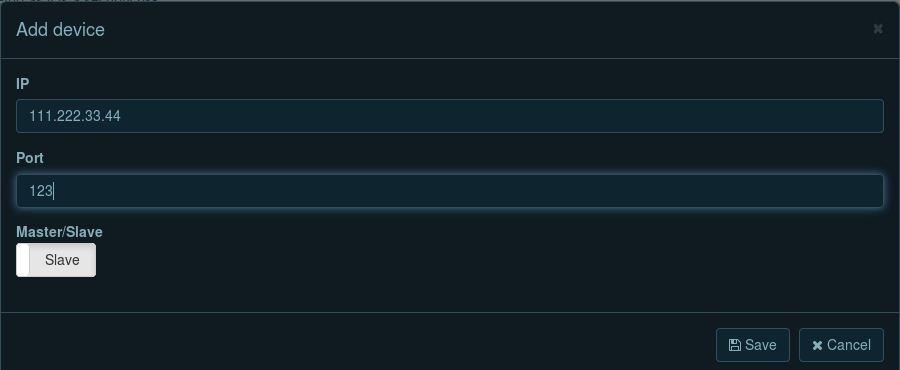
- The window will appear with settings of the device with Modbus TCP. Enter the IP address and port of the device in the appropriate fields, and also select the Master/Slave type of the connected device (most often the connected device is Slave). After that, click Save and confirm your selection by clicking on OK in the next window.

- After adding a device, it will appear in the list on the Plugins/MODBUS TCP page. To edit it, click on Edit (button 1 in the screenshot); to delete it, click on Delete (button 2 in the screenshot). You can change the status with the Master (or Slave depending on its status, button 3 in the screenshot) button.

After successful addition, Com-port will appear in the logic. You can check its availability by going to the Structure menu and clicking on Edit logic.
