Latest revision as of 15:12, 18 January 2022
Information about message (contribute ) This message has no documentation.
If you know where or how this message is used, you can help other translators by adding documentation to this message.
Message definition (Managing the Items )
===Top panel===
===Top panel===
In the '''Larnitech''' application, you can control the items, view the sensor readings, view the camera image, use consoles, and use many other functions. The items are grouped into sections according to their functionality; you can use the top panel to switch between the sections.
<br>[[File:instruction5.png|500px]]<br>
===<br>[[File:instruction6.png|80px]]<br>Actuators===
The '''Actuators''' panel includes such items as lighting, doors, gates, jalousie, etc. Consider how to manage each actuator in more detail.
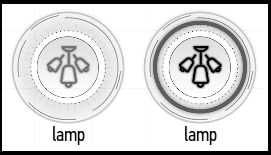
Switching the lamp on and off is done by a single click on the item.
<br>[[File:instruction7.png|200px]]<br>
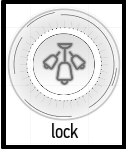
Using this item, you can open the lock. The lock is opened by a single click on the time interval specified in the system.
<br>[[File:instruction8.png|100px]]<br>
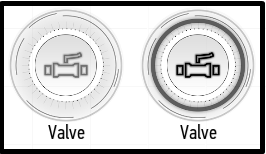
Opening and closing valves occurs by a single click on the item. Leak sensors can be attached to the valves – then they will automatically close when a leakage is detected (see [[edit-items#Auto|Edit Items -> Auto -> Valve Automation]])
<br>[[File:instruction9.png|200px]]<br>
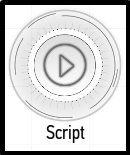
The '''Script''' item performs the specified set of actions. You will start it by a single click on the item. You can create a '''Script''' via the toolbar of the Smart Home system administration ('''LT Setup''').
<br>[[File:instruction10.png|100px]]<br>
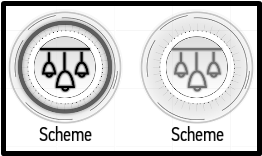
The '''Light-scheme''' item allows you to turn on and off multiple items at once. It is turned on and off by a single click.
<br>[[File:instruction11.png|200px]]<br>
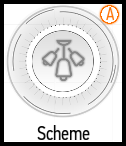
The following pictograms that indicate customized automation or emergency mode may be located next to the item’s icons:
<br>[[File:instruction12.png|100px]]<br>- the orange letter “A” in the right upper corner indicates activated automation mode; Translation ===Top panel=== Top panel In the Larnitech application, you can control the items, view the sensor readings, view the camera image, use consoles, and use many other functions. The items are grouped into sections according to their functionality; you can use the top panel to switch between the sections.
The Actuators panel includes such items as lighting, doors, gates, jalousie, etc. Consider how to manage each actuator in more detail.
Switching the lamp on and off is done by a single click on the item.
Edit Items -> Auto -> Valve Automation )
Script item performs the specified set of actions. You will start it by a single click on the item. You can create a Script via the toolbar of the Smart Home system administration (LT Setup ).
Light-scheme item allows you to turn on and off multiple items at once. It is turned on and off by a single click.