Difference between revisions of "Accounts"
(Created page with " ==Binding Google and Sonos Accounts== <p>You can use Web Toolbar of the Smart Home system administration (LT Setup) in order to bind Google and Sonos accounts to your Smart H...") |
|||
| Line 2: | Line 2: | ||
==Binding Google and Sonos Accounts== | ==Binding Google and Sonos Accounts== | ||
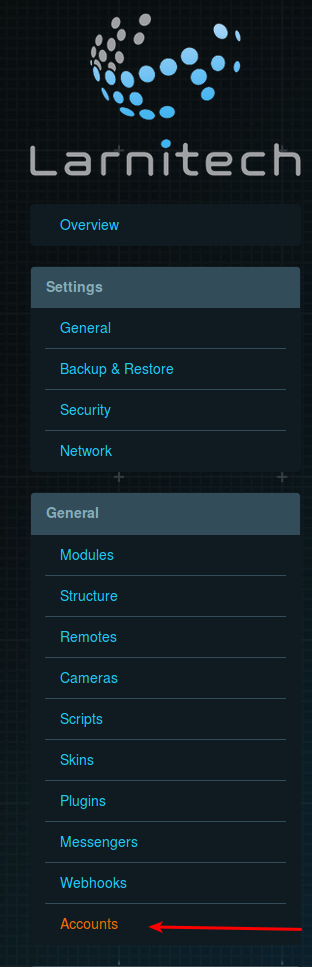
<p>You can use Web Toolbar of the Smart Home system administration (LT Setup) in order to bind Google and Sonos accounts to your Smart Home system. To do this, authorize yourself in LT Setup and select the Accounts item (in the General category) in the left menu. | <p>You can use Web Toolbar of the Smart Home system administration (LT Setup) in order to bind Google and Sonos accounts to your Smart Home system. To do this, authorize yourself in LT Setup and select the Accounts item (in the General category) in the left menu. | ||
| − | <br>[[File: | + | <br>[[File:accounts1.png|300px]]<br> |
| Line 8: | Line 8: | ||
<ol> | <ol> | ||
<li>Enter the “Accounts” tab (see the screenshot above). In the table that appears, click on the “Link” button next to “Google” (the first row of the table). | <li>Enter the “Accounts” tab (see the screenshot above). In the table that appears, click on the “Link” button next to “Google” (the first row of the table). | ||
| − | <br>[[File: | + | <br>[[File:accounts2.png|800px]]<br></li> |
<li>In the window that appears, select the available account you want to bind. If the required account is not available in the list, click on the “Use another account” button. | <li>In the window that appears, select the available account you want to bind. If the required account is not available in the list, click on the “Use another account” button. | ||
| − | <br>[[File: | + | <br>[[File:accounts3.png|500px]]<br></li> |
<li>Click the “Allow” button in the next window. | <li>Click the “Allow” button in the next window. | ||
| − | <br>[[File: | + | <br>[[File:accounts4.png|500px]]<br></li> |
<li>If the next page opens thereafter, the account binding is completed successfully. | <li>If the next page opens thereafter, the account binding is completed successfully. | ||
| − | <br>[[File: | + | <br>[[File:accounts5.png|800px]]<br></li> |
</ol> | </ol> | ||
<p>Binding to a Google account will allow you to receive notifications, photos and videos by e-mail, as well as fill in tables in Google Drive using Larnitech scripts. You can customize these features using Blockly. | <p>Binding to a Google account will allow you to receive notifications, photos and videos by e-mail, as well as fill in tables in Google Drive using Larnitech scripts. You can customize these features using Blockly. | ||
| Line 21: | Line 21: | ||
<ol> | <ol> | ||
<li>Enter the “Accounts” tab (see the first screenshot). In the table that appears, click on the “Link” button next to “Sonos” (the second row of the table). | <li>Enter the “Accounts” tab (see the first screenshot). In the table that appears, click on the “Link” button next to “Sonos” (the second row of the table). | ||
| − | <br>[[File: | + | <br>[[File:accounts6.png|800px]]<br></li> |
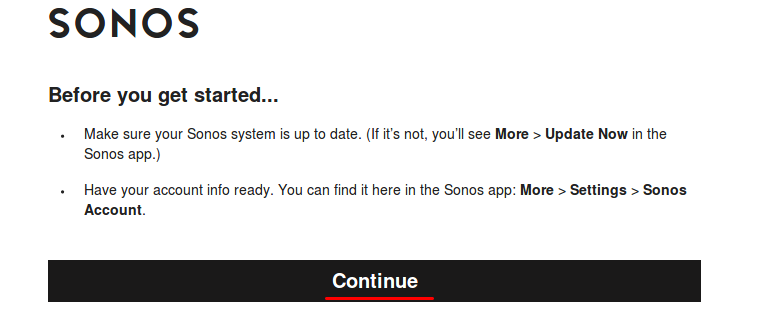
<li>In the window that appears, click on the "Continue" button. | <li>In the window that appears, click on the "Continue" button. | ||
| − | <br>[[File: | + | <br>[[File:accounts7.png|800px]]<br></li> |
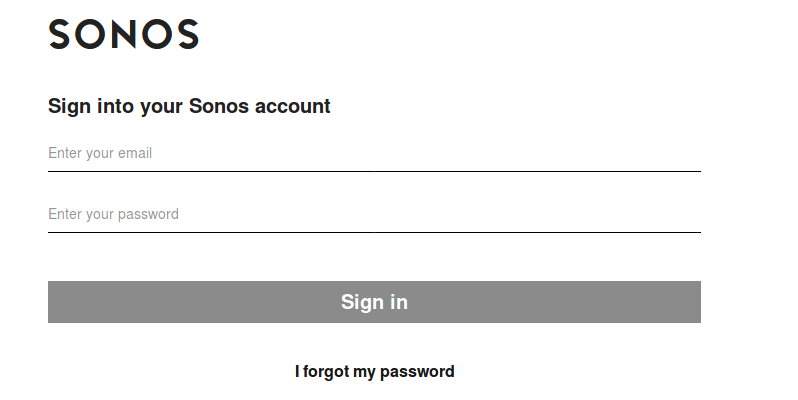
<li>On the page that appears, enter your Sonos account data and click on the “Sign In” button. | <li>On the page that appears, enter your Sonos account data and click on the “Sign In” button. | ||
| − | <br>[[File: | + | <br>[[File:accounts8.png|800px]]<br></li> |
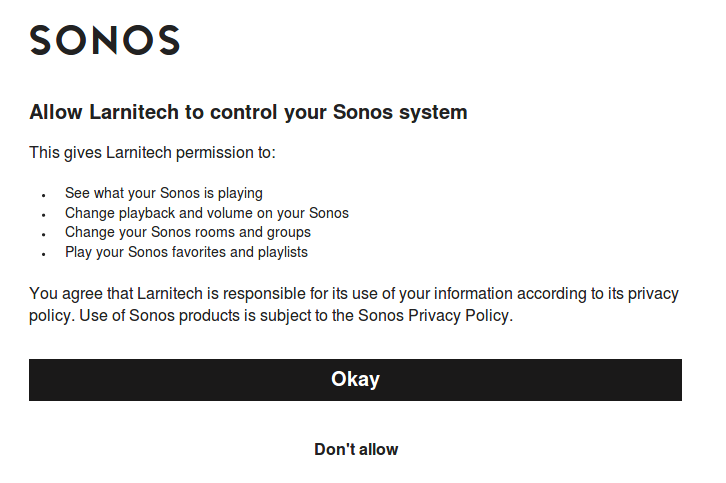
<li>In the next window, click "Okay". | <li>In the next window, click "Okay". | ||
| − | <br>[[File: | + | <br>[[File:accounts9.png|800px]]<br></li> |
<li>If you see the next window, then the binding is completed successfully: | <li>If you see the next window, then the binding is completed successfully: | ||
| − | <br>[[File: | + | <br>[[File:accounts10.png|800px]]<br></li> |
</ol> | </ol> | ||
<p>After binding your Sonos account, you can control the Sonos audio system in your home using the Larnitech app. If more than one home is connected to your Sonos account, you can choose the one you need by clicking the “Set household” button. | <p>After binding your Sonos account, you can control the Sonos audio system in your home using the Larnitech app. If more than one home is connected to your Sonos account, you can choose the one you need by clicking the “Set household” button. | ||
| − | <br>[[File: | + | <br>[[File:accounts11.png|800px]]<br> |
<p>In the window that appears, select the desired home, click “Set household” and confirm the selection by clicking “Ok” in the next window. | <p>In the window that appears, select the desired home, click “Set household” and confirm the selection by clicking “Ok” in the next window. | ||
Revision as of 14:11, 1 October 2021
Binding Google and Sonos Accounts
You can use Web Toolbar of the Smart Home system administration (LT Setup) in order to bind Google and Sonos accounts to your Smart Home system. To do this, authorize yourself in LT Setup and select the Accounts item (in the General category) in the left menu.
Binding Google Account
- Enter the “Accounts” tab (see the screenshot above). In the table that appears, click on the “Link” button next to “Google” (the first row of the table).

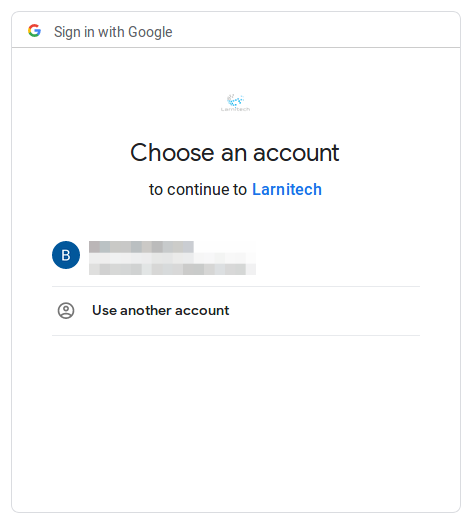
- In the window that appears, select the available account you want to bind. If the required account is not available in the list, click on the “Use another account” button.
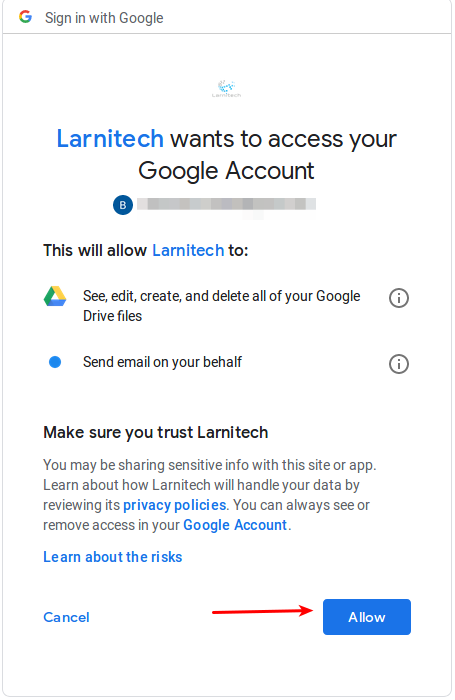
- Click the “Allow” button in the next window.
- If the next page opens thereafter, the account binding is completed successfully.
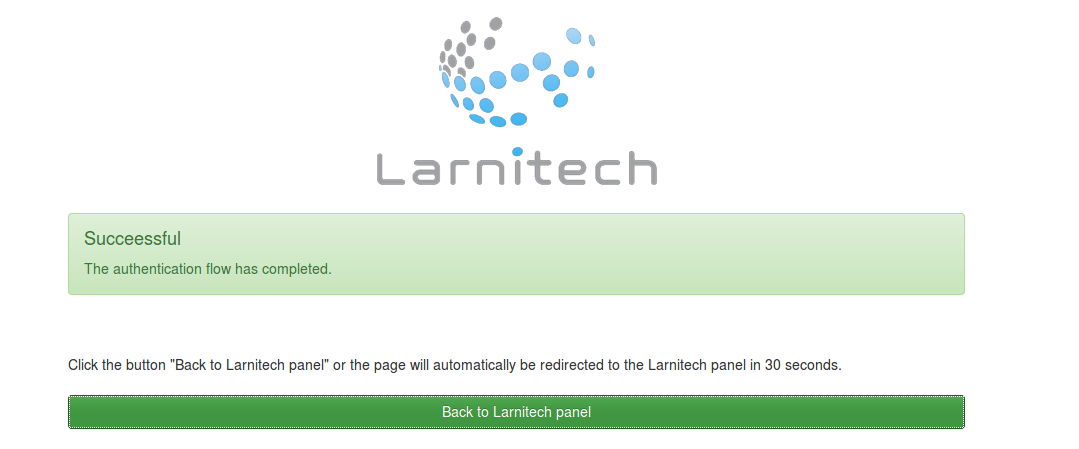
Binding to a Google account will allow you to receive notifications, photos and videos by e-mail, as well as fill in tables in Google Drive using Larnitech scripts. You can customize these features using Blockly.
Binding to Sonos
- Enter the “Accounts” tab (see the first screenshot). In the table that appears, click on the “Link” button next to “Sonos” (the second row of the table).

- In the window that appears, click on the "Continue" button.
- On the page that appears, enter your Sonos account data and click on the “Sign In” button.
- In the next window, click "Okay".
- If you see the next window, then the binding is completed successfully:
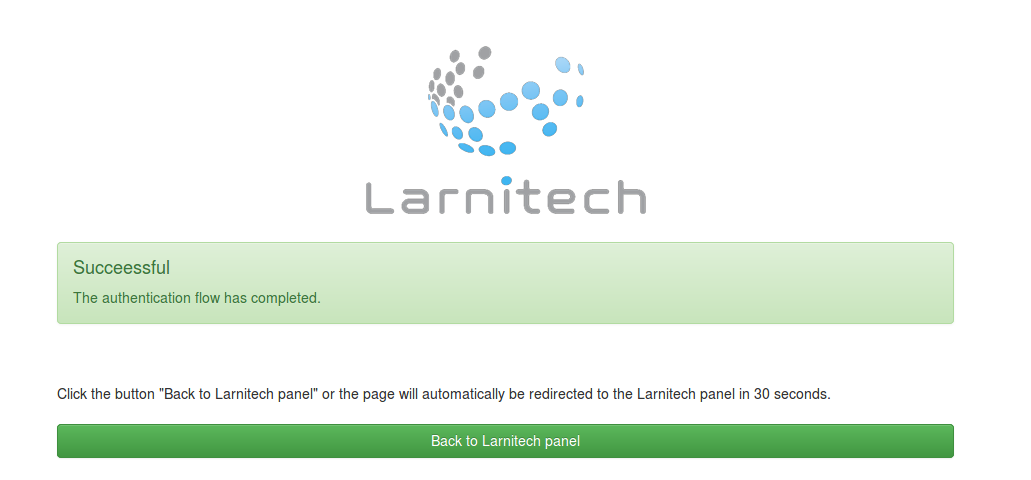
After binding your Sonos account, you can control the Sonos audio system in your home using the Larnitech app. If more than one home is connected to your Sonos account, you can choose the one you need by clicking the “Set household” button.

In the window that appears, select the desired home, click “Set household” and confirm the selection by clicking “Ok” in the next window.