Climate control settings
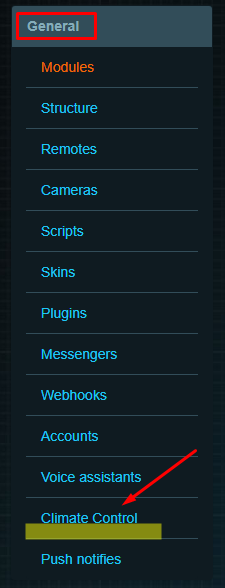
1. Open LT Setup, in General tab click on Climate control
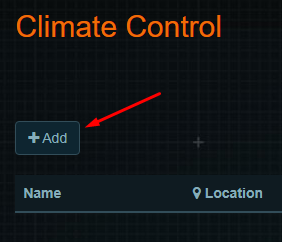
2. Click on +Add button
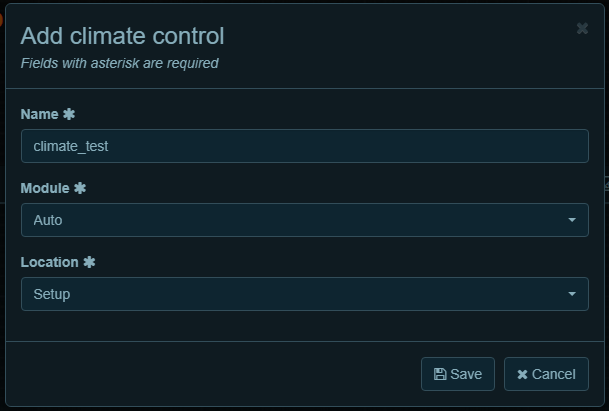
3. In the pop-up window, fill the fields below, Save changes
- Name - any you like
- Module - device, that will be controlling the climate
- Location - the room, in which your climate will be situated
4. In the new window, you will set settings for the climate.
In the Sensors panel, choose sensors from drop-down list for Temperature/Humidity/Warm floor/CO2.
If you don`t have Humidity or CO2 sensors, for example, leave the fields empty.
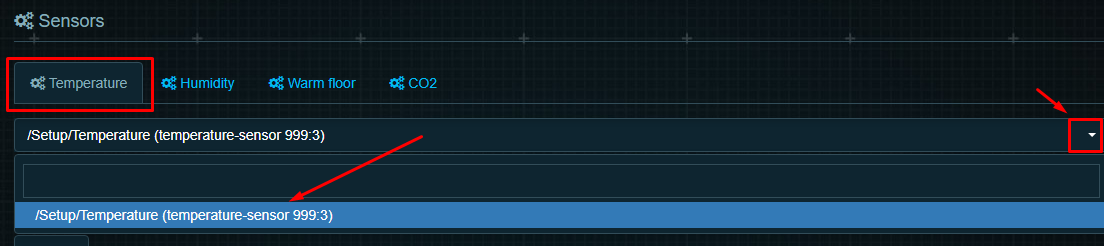
5. When you choose one, click on+, to add it !!

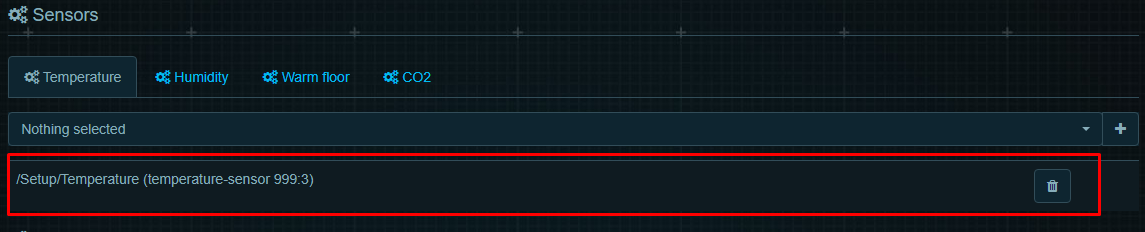
6. After this, you will see the added sensor.
If you won`t add a sensor like this, you can`t add devices (radiators, etc) to work with it.
For Humidity/Warm floor/CO2 tabs procedure the same. You can use one sensor for some tabs.
7. After the Sensors tab, move to Automation settings.
There you can add devices to any Automation mode (Eco, Comfort, Hot) or create new ones.
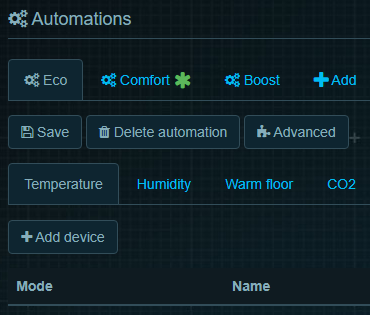
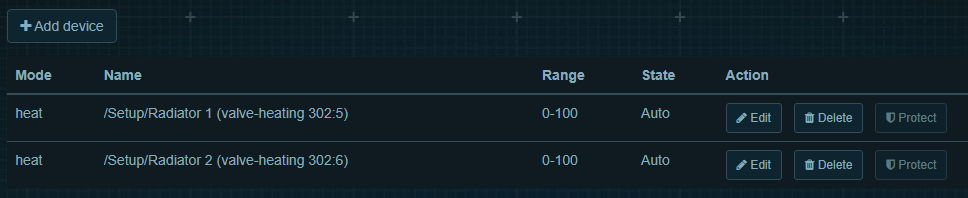
8. Click on +Add device, choose your object and Save settings.
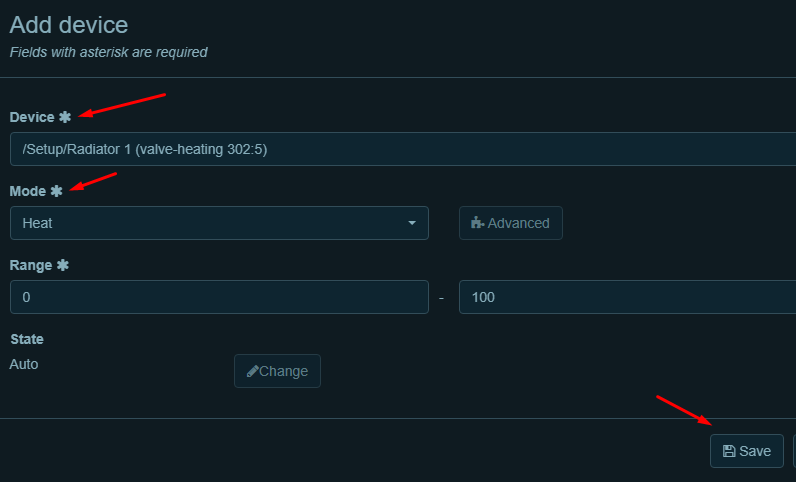
9. After Save, your device will appear below the tab Temperature. You can add as many devices as you have.