- Send request to support for SIP registration. They will send you pair of SIP accounts
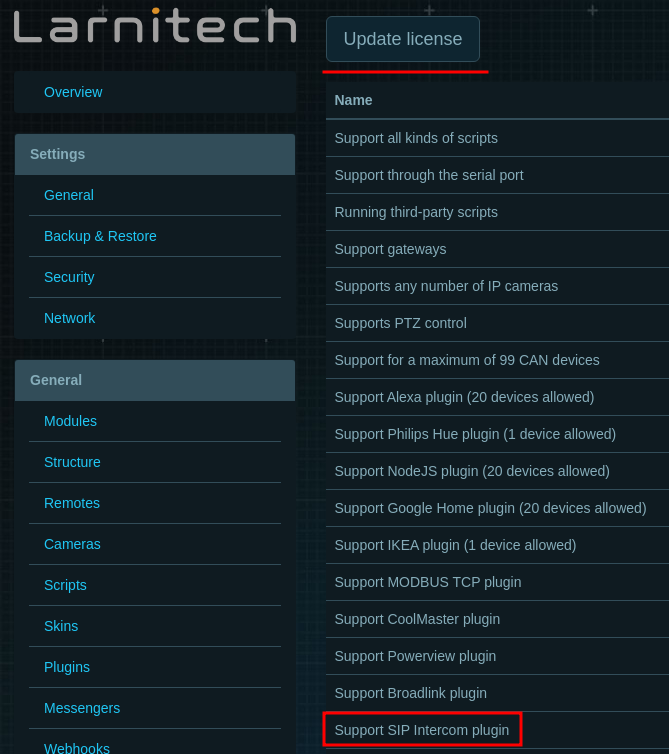
- Make sure you have SIP licence
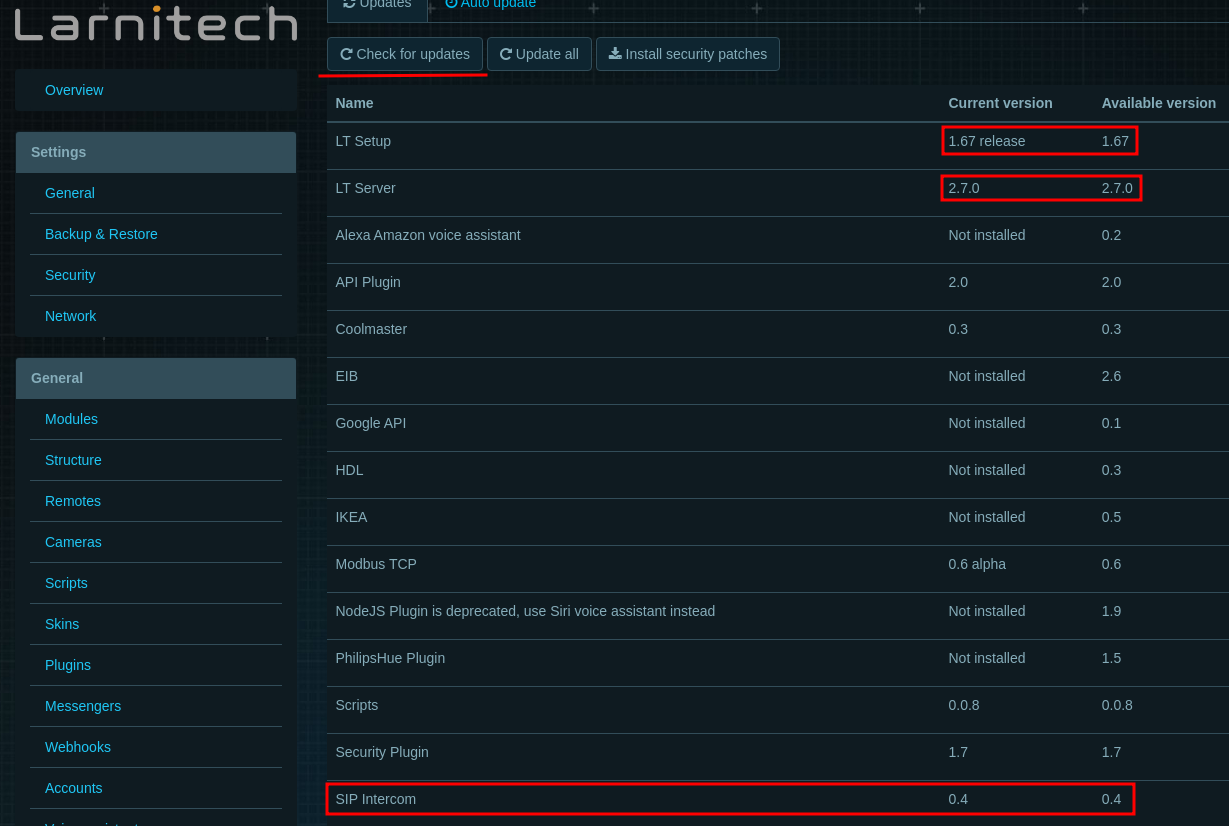
- Make sure you have the latest versions of LT Setup, LT Server, SIP plugin installed
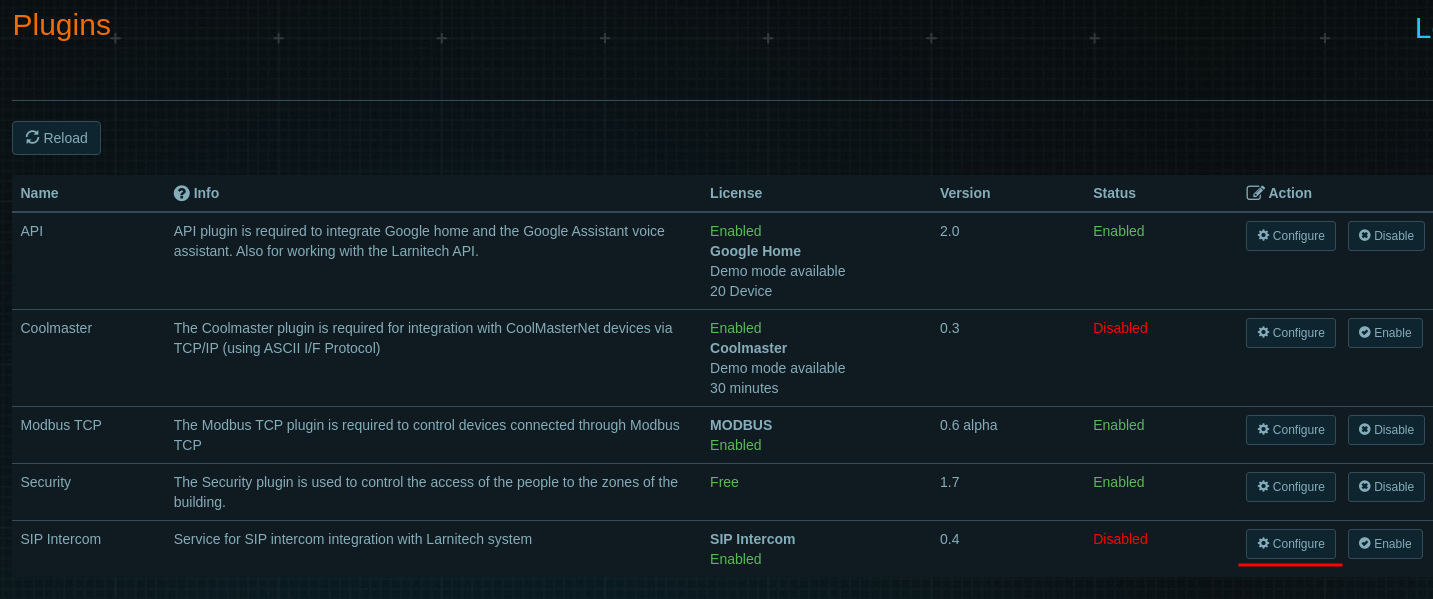
- Configure plugin before enabling.
-
Fill settings
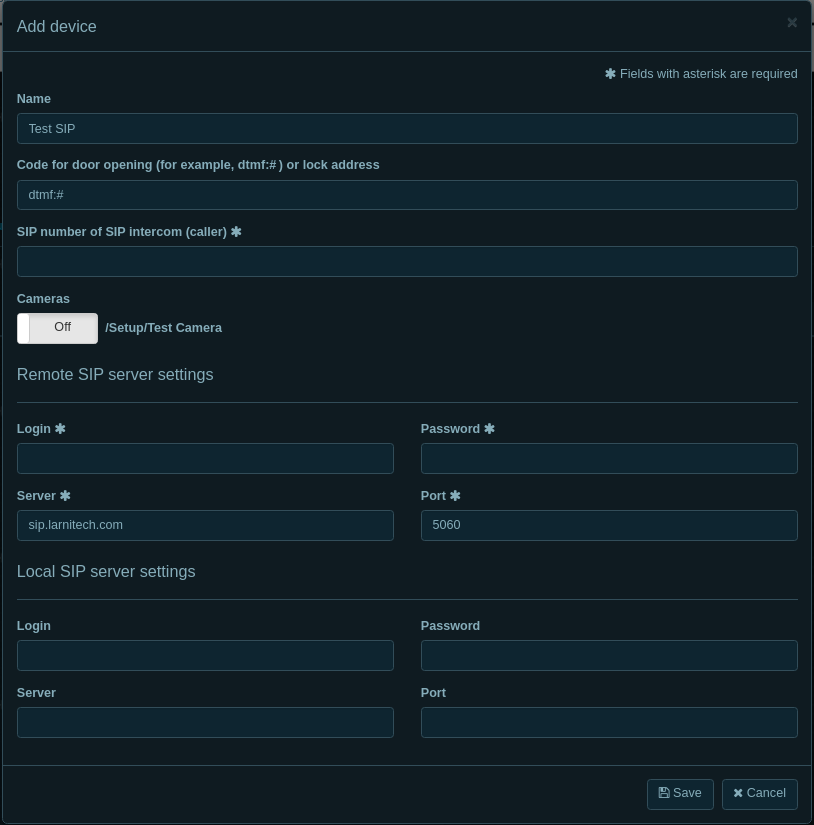
SIP number of SIP intercom (caller) - SIP account received from support team that will be used for 3rd-party device.
Ends "1". Example: 2779002761@sip.larnitech.com
Cameras - You can add any camera from our system to the virtual intercom.
Server: sip.larnitech.com
Port: 5060
Login: SIP account received from support. It must end with 0. Example 779002760@sip.larnitech.com
Password: password received from support team
Leave ‘Local SIP server settings’ empty - Save configuration and Enable the plugin.
LOG Example:IC SIP: [ msg] Url 'state/SIP-NUMBER/WAITING' response code 200 IC SIP: [ msg] Url 'state/SIP-NUMBER/WAITING' response code 200 IC SIP: [ msg] Url 'state/SIP-NUMBER/WAITING' response code 200 IC SIP: [ msg] Url 'state/SIP-NUMBER/WAITING' response code 200 IC SIP: [ msg] Url 'state/SIP-NUMBER/WAITING' response code 200 - Calling (response code 200 - OK) IC SIP: [ msg] SIP-NUMBER: [2028: 0] device mode: TALKING - Answer and Talking IC SIP: [ msg] Url 'state/SIP-NUMBER/WAITING' response code 200 IC SIP: [ msg] Url 'state/SIP-NUMBER/WAITING' response code 200 IC SIP: [ msg] SIP-NUMBER: device mode: IDLE IC SIP: [ msg] Url 'state/SIP-NUMBER/HANGUP' response code 200 - Cancel Call