Интеграция c Satel
Jump to navigation
Jump to search
Security - SATEL installation & configuration
SATEL Keypad - Preparing to integration
- Connect ethernet cable to your TCP module.
- Enter the service code (by default 12345) and press [*].
- Select the item SERVICE MODE from the list and press the [#] or [X] key.
- Select Configuration from the list and press the [#] or [X] key.
- Select INTEGRA Ident.
- Write down the code and repeat the same for DloadX Ident. and GuadX Ident.
- Exit from Configuration page, and Select Structure page/Modules/LCD-Keypads/Setup/
- Select your TCP module from the list and press the [#] or [X] key.
- Select Key (DloadX)
- Write down the code
SATEL - DloadX
- When the program starts, it will ask you to enter a password. Default password 1234
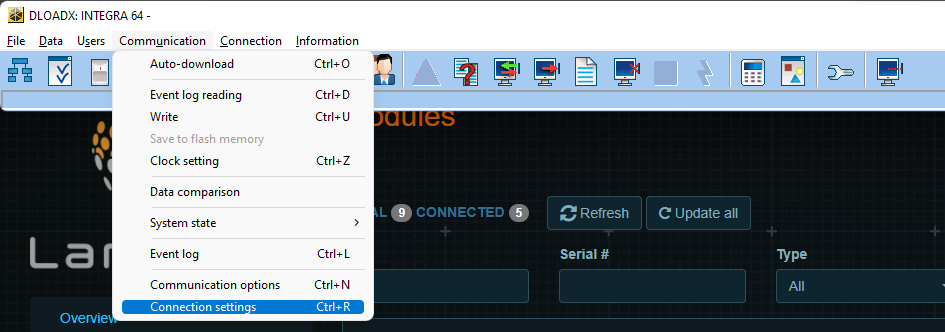
- Выберите страницу настроек связи/подключенияSelect Communication/Connection Settings page
- Заполните поля, как показано на скриншоте ниже. Используйте идентификаторы, полученные от панели, IP-адрес вашего модуля SATEL.Fill in the fields similar to the screenshot below. Use identifiers obtained from the panel, IP address of your SATEL module.
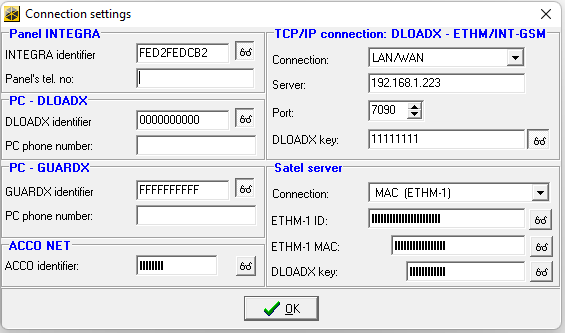
- Выберите Соединение/ TCP/IP: DLOADX -> ETHM (вы можете использовать разные варианты подключения). Нажмите «Подключиться» Select Connection/ TCP/IP: DLOADX -> ETHM (You can use different options for connection). Click ‘Connect’
 Пример журнала ошибок соединения:
 Подключение к серверу: 192.168.1.223:7090
 Установка соединения
 Модуль: ЭТХМ-1 V2.07
 Неверный идентификатор панели - Неправильный идентификатор INTEGRA Connection error log example:
Connecting to server: 192.168.1.223:7090
Establishing connection
Module: ETHM-1 V2.07
Wrong panel identifier - Wrong INTEGRA Ident.
Разрыв соединения
Подключение к серверу: 192.168.1.223:7090
 Установка соединения
 Модуль: ЭТХМ-1 V2.07
 Неверный идентификатор ПК - Неверный идентификатор DLOADX. или идентификатор GUARDX. Connecting to server: 192.168.1.223:7090
Establishing connection
Module: ETHM-1 V2.07
Wrong PC identifier  - Wrong DLOADX Ident. or GUARDX Ident.
Разрыв соединения.
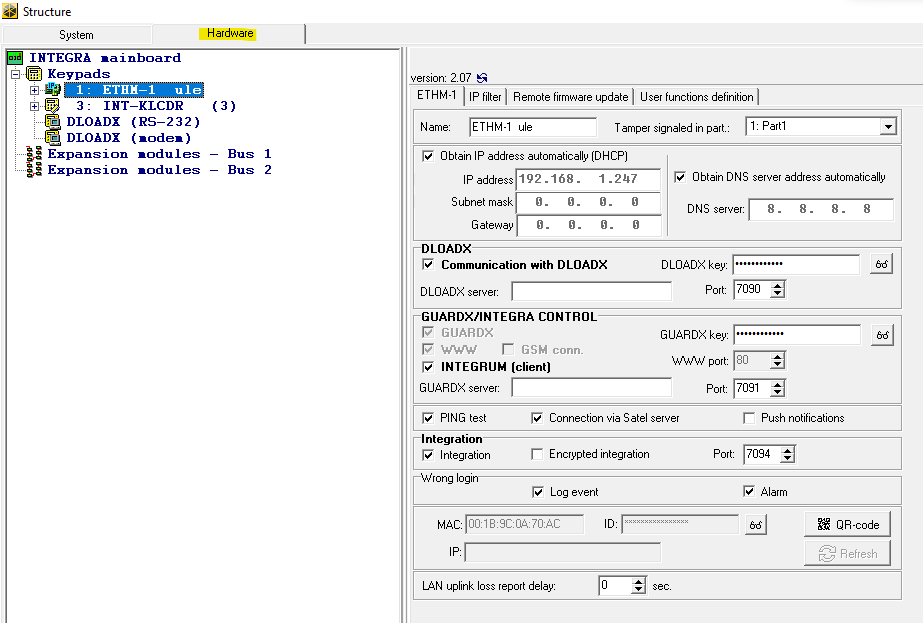
- Там вы можете найти настройки подключения после считывания данных из модуля TCP. Убедитесь, что у вас есть аналогичные настройки.

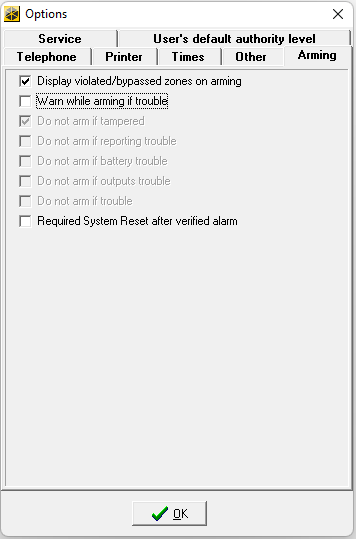
- Пример конфигурации по умолчанию NO — нормально открытый геркон
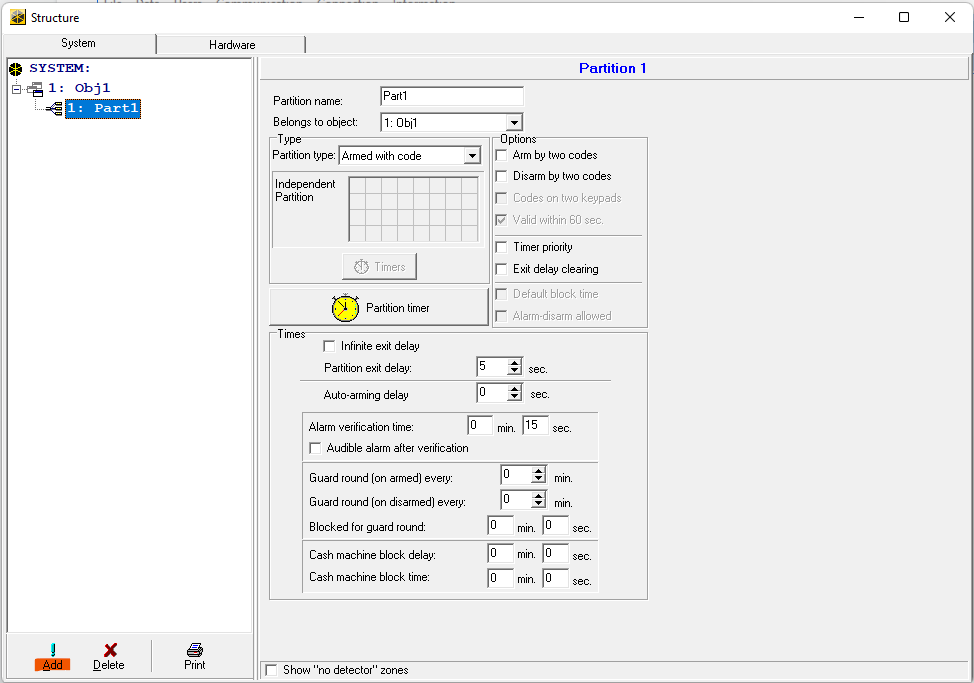
Открыть настройки структурыOpen Structure settings

Создать раздел
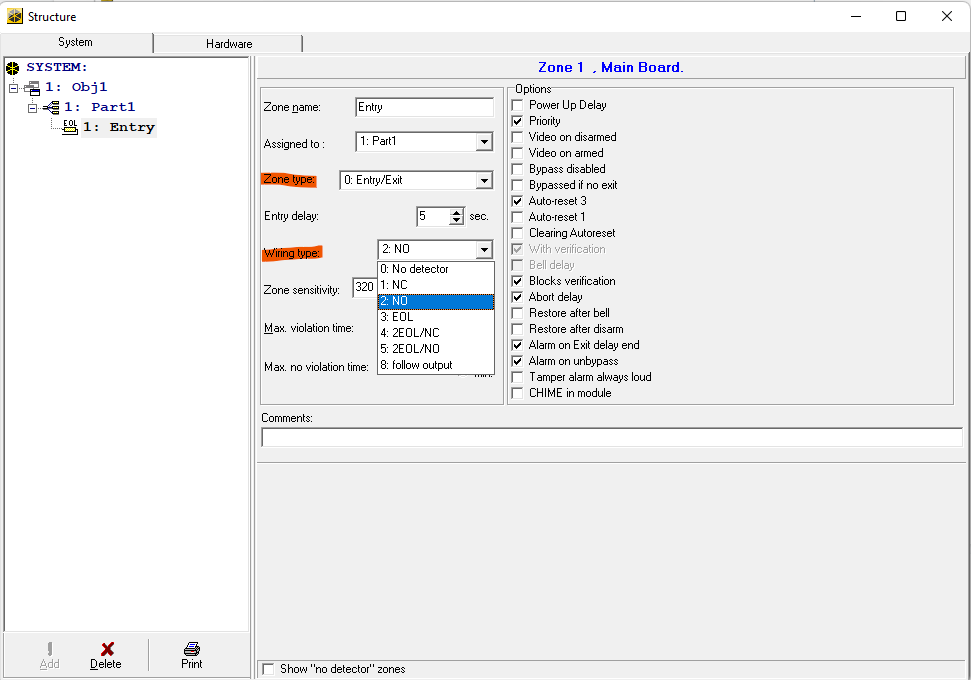
Создать зону/устройство
Конфигурация модуля безопасности Larnitech:Larnitech Security Plugin configuration:
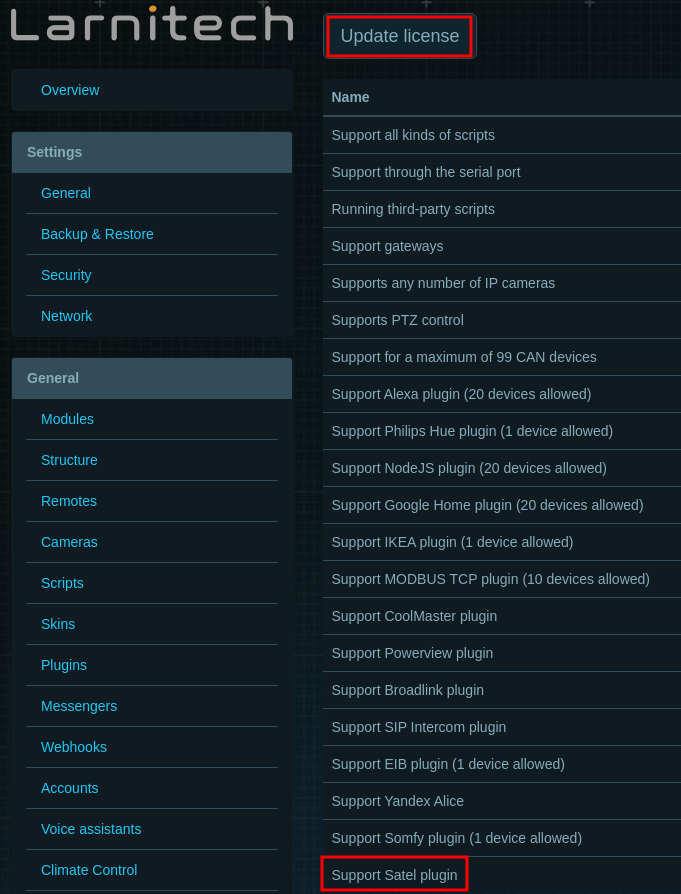
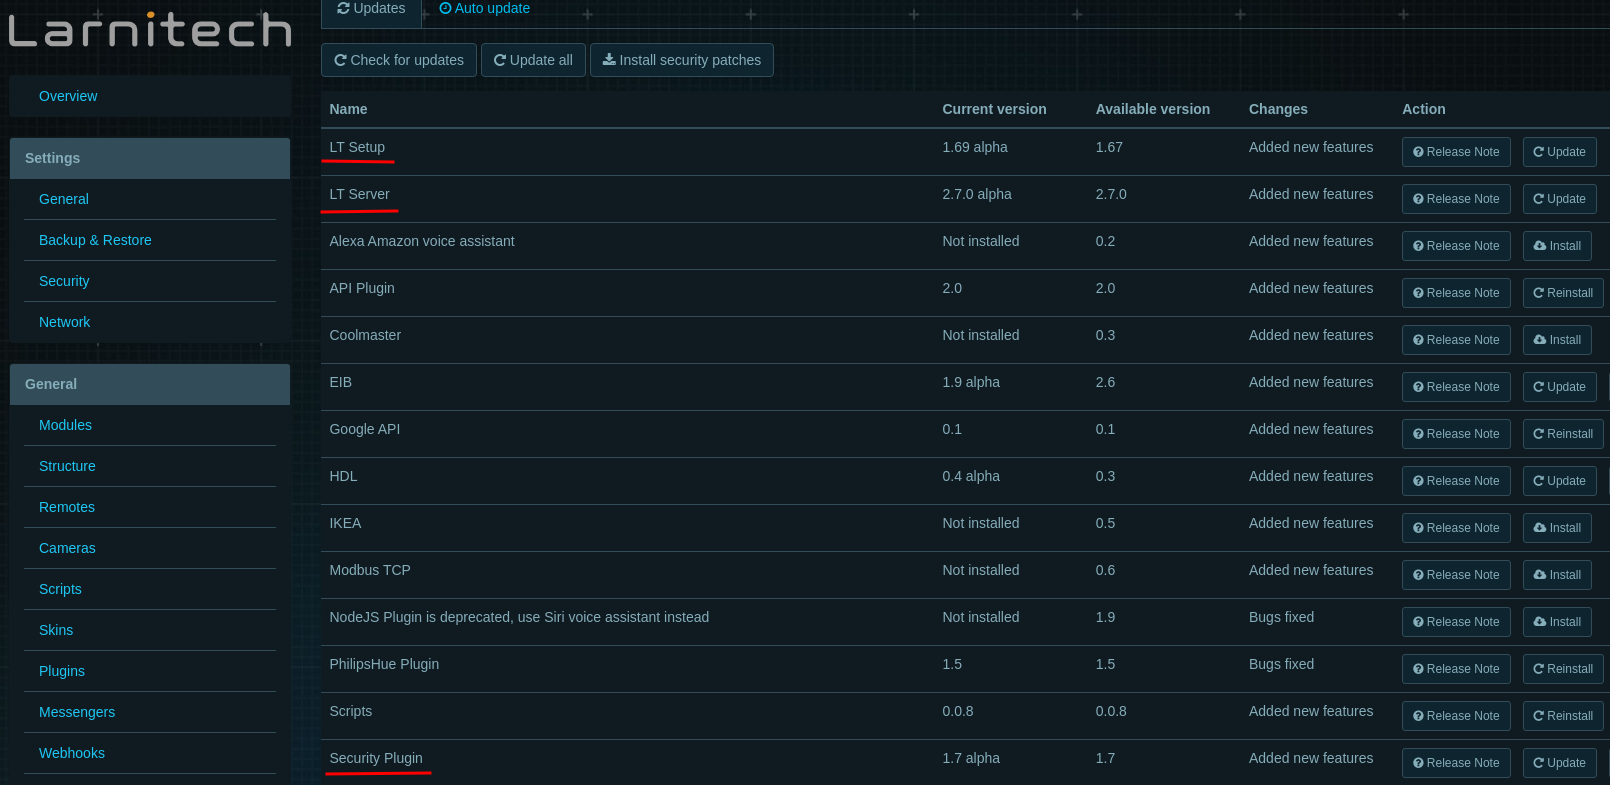
- Убедитесь, что у вас есть лицензии SATELMake sure you have SATEL licenses
- Убедитесь, что у вас установлены последние версии программ LT Setup, LT Server, плагинаMake sure you have the latest versions of LT Setup, LT Server, Security plugin installed
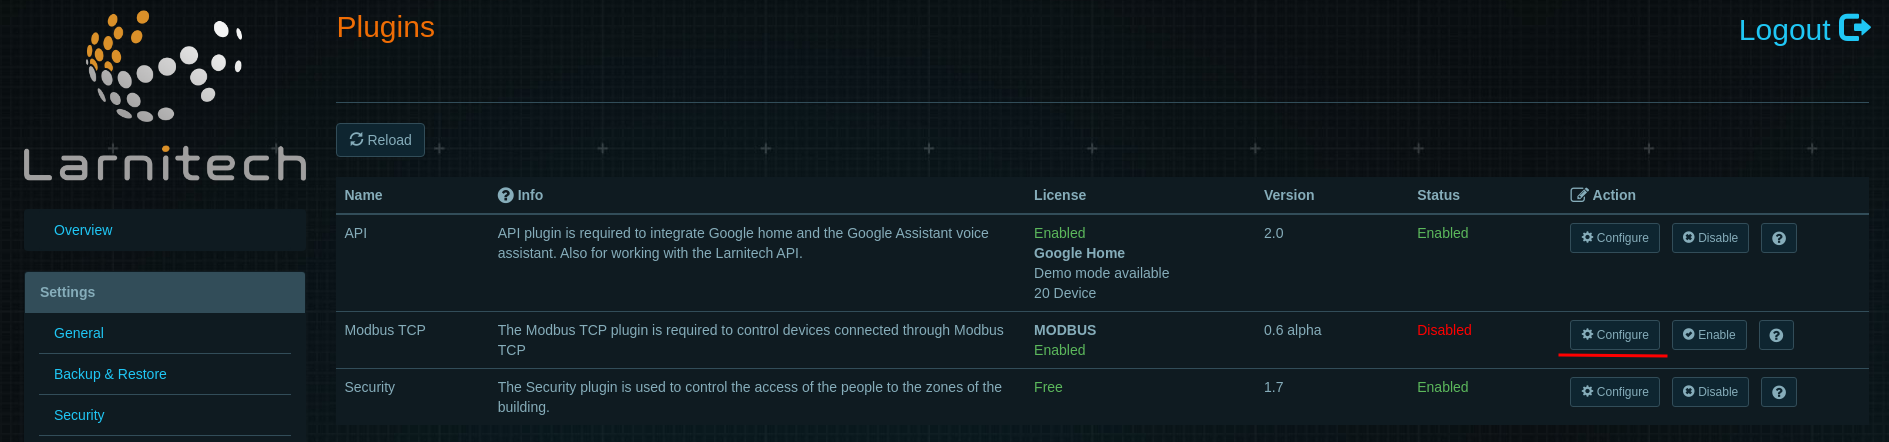
- Настройте и включите плагин.
- Select the Satel page, fill in the fields similar to the screenshot below and enable the integration
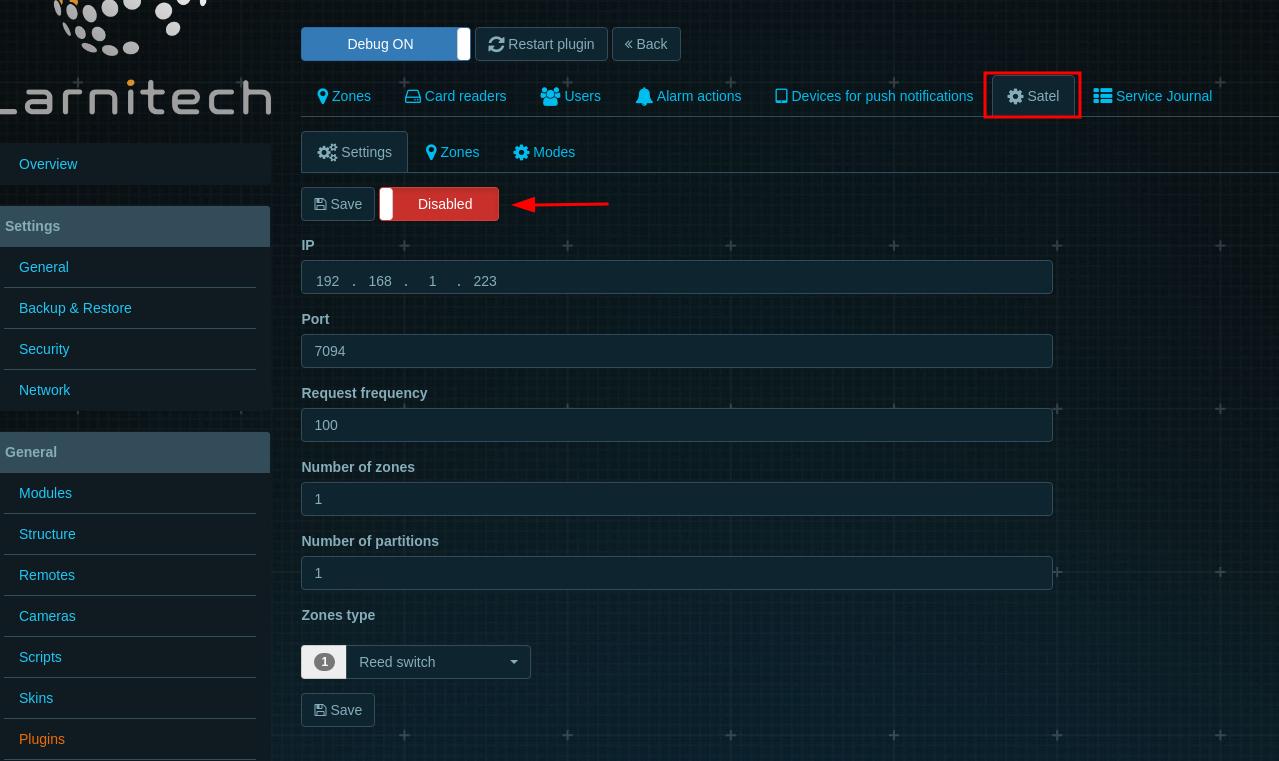
IP: Your Satel TCP module
Port: Integration port. Default: 7094c
How does integration work?
Our plugin is just a receiver for Satel data, we send only a couple commands like Reset alarms, pin, arm and disarm. But the logic of these commands are processed by Satel.