Translations:Managing the Items/9/en
1. Tick the box (marked 1) to select the media point.
2. Click Start broadcasting (the button marked 2). A message recording will start, the Stop broadcasting inscription will appear on the button. Click on it to stop recording.
3. The selected media point will play the recorded message. The button marked 2 will have the Cancel broadcasting inscription. Click on it to cancel the message broadcasting. The slider marked 3 in the screenshot can be used to change the volume.
● Sync Playing – it allows you to synchronize several media points connected to the Smart Home system.
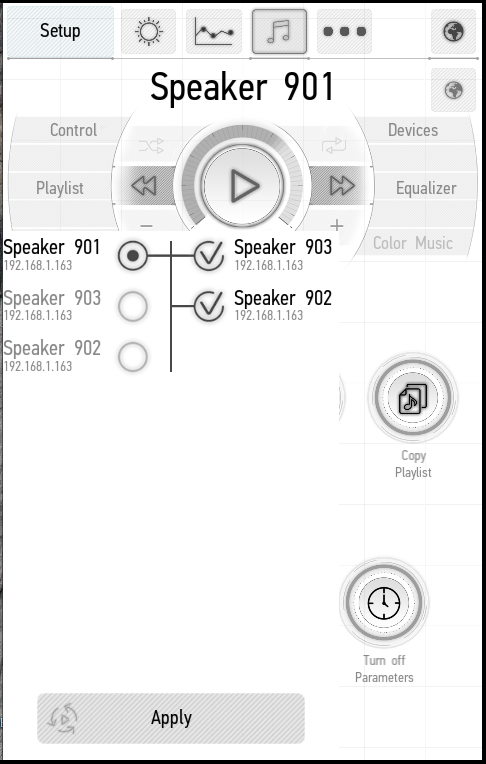
In the left part of the list you can select one media point, which will be a master used by other media points to achieve their synchronization. In the right part, you must to select the media points that will be synchronized.
To confirm the selection, click Apply at the bottom of the window. After synchronization, the selected media points will play the same playlist as the original media point.
You can control the master in order to control the playback of all synchronized media points.
● Move Playing – it allows you to transfer the playlist and the current playback position.
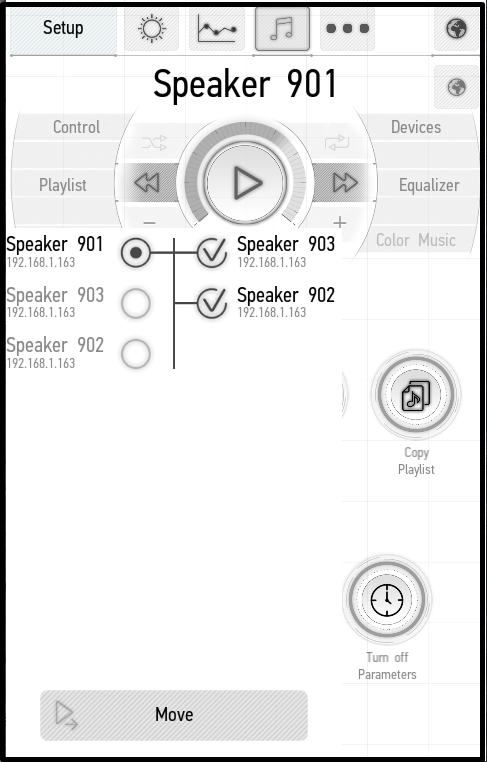
In the left part of the screen you need to select the media point which the current playback will be transferred from. In the right part, you need to select the media points which the playback will be transferred to.
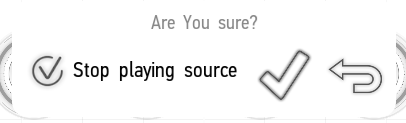
To transfer, click Move. A dialog box appears with the Stop playing source option. If you want to stop the playback at the starting point, tick the box; if you want the playback to continue, do not tick the box. After transferring, the media points will work independently.
● Copy Playlist – it allows you to copy a playlist from one media point to another.
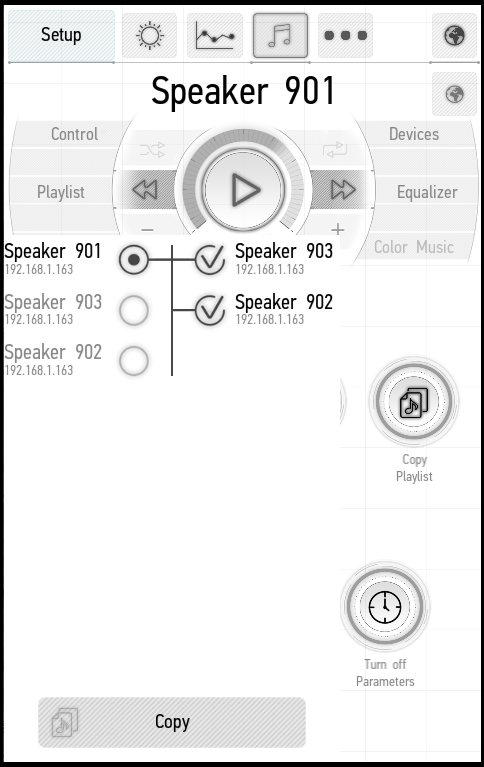
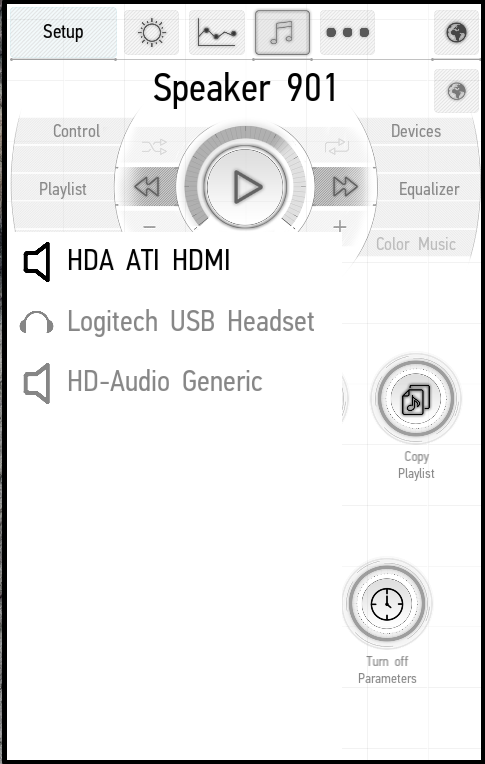
In the left part of the window you need to select the media point whose playlist will be copied. In the right part of the window you need to select the media points which the playlist will be copied to. After selecting, click Copy. A dialog box appears with the options Stop playing source (stop playing on the original media point) and Start playing destinations (start playing on the media points which the playlist is copied to). Tick the boxes next to desired options and click on the appropriate button to confirm the selection.
● Select Source – it allows you to select a playback source.
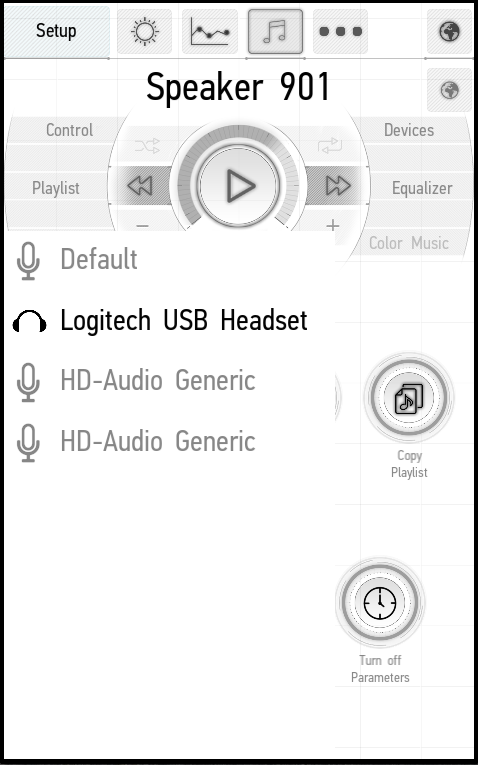
The appeared window provides the list of connected devices. The active playback source is highlighted in orange.
You can choose the source among the devices connected to the FE-MP media point (SPDIF, Bluetooth, USB-analog-to-digital-converter etc).
Click on it to change the playback source.
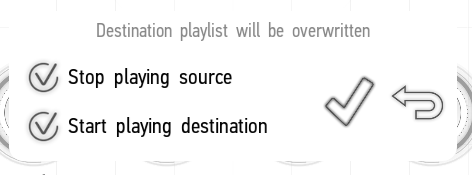
● Select Destinations – it allows you to select the audio output on the media point.
The appeared window provides the available audio outputs. The active audio output is highlighted in orange.
You can choose the audio output among the devices connected to the FE-MP media point (SPDIF, Bluetooth, and USB-analog-to-digital-converter etc).
Click on it to change the audio output.
● Turn off Parameters – it allows you to customize the playback stop for a specified number of minutes or tracks.
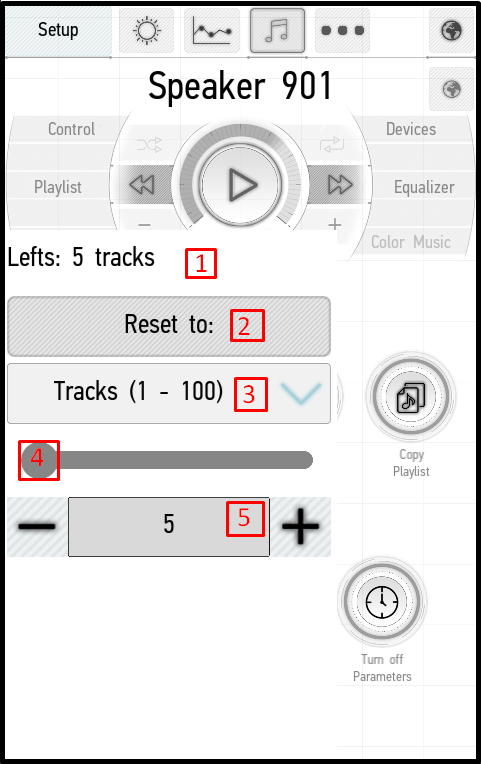
- It displays how many tracks or minutes are left before the playback stop.
- The Reset to button resets the countdown to the preset parameters.
- The choice of countdown units – Minutes or Tracks.
- The slider allows you to set the number of minutes (from 1 to 1440) or tracks (from 1 to 100) until the stoppage.
- Use the + and - buttons to set the number of minutes or tracks until the stoppage. Use 3, 4 and 5 buttons to adjust the mode parameters, and press Reset to (marked 2) to start the countdown.
Devices tab
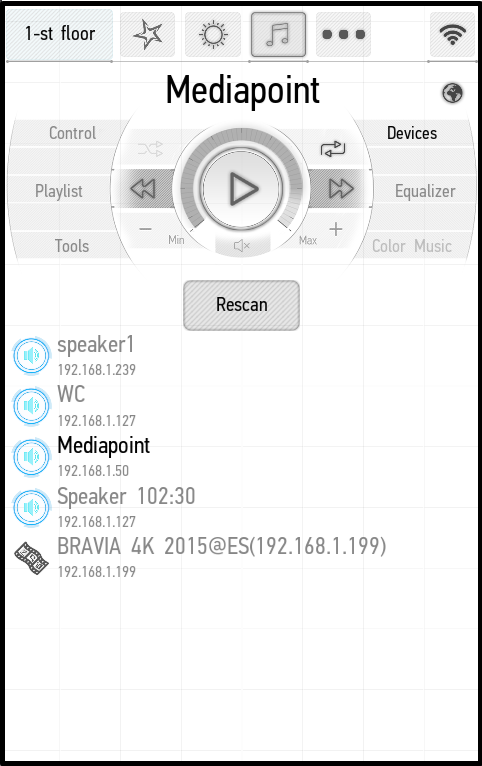
This tab allows selecting which media point will be used to control
Equalizer tab
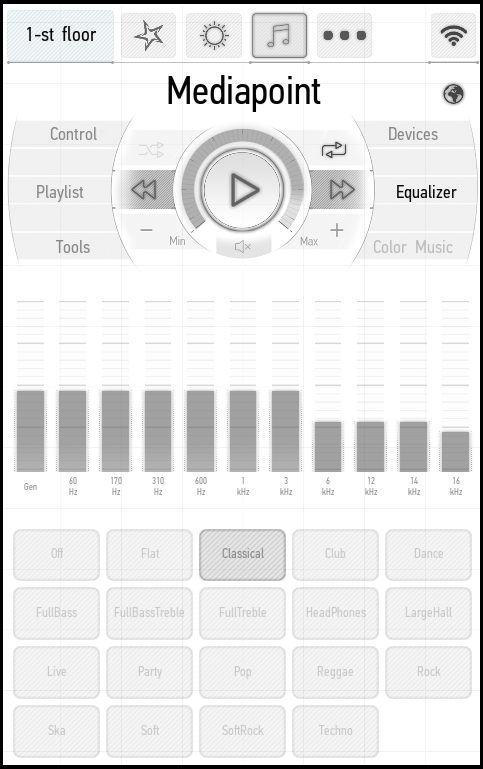
11-band equalizer – set the desired position of each band by clicking or dragging it. The buttons at the bottom of the screen are used to select presetting for different styles of music.
Color Music Tab
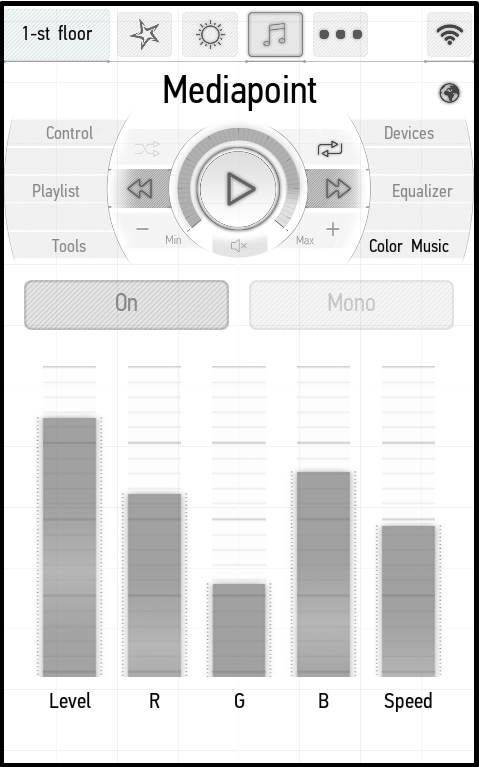
Color music panel. If you have bound an RGB backlight to the media point (see Edit Items -> Edit Multiroom -> Color Music), you can adjust the color music. The Level slider sets the intensity level of LEDs, the Speed slider sets the speed of flicker. The R, G and B sliders can be used to set the frequency of occurrence for red, green and blue color, respectively.
The On/Off switch turns the color music on and off, and the Mono/Stereo switch toggles the mono and stereo modes.

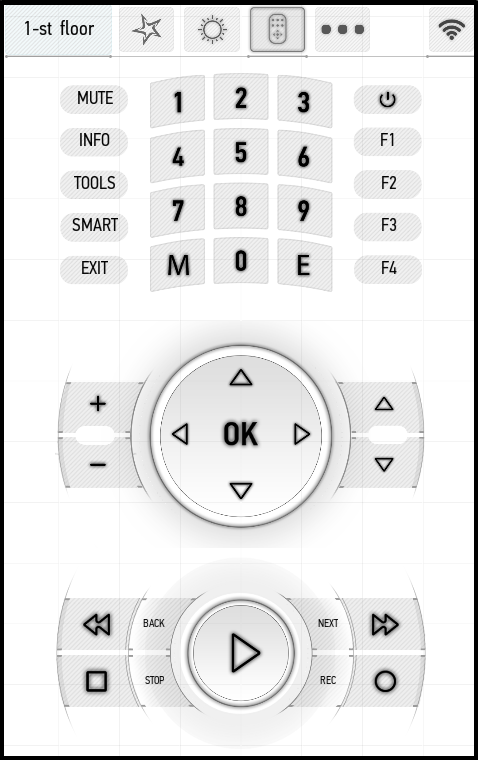
Remote controls
In the remote control panel you can control various devices through the Larnitech application. The buttons on the panel correspond to the buttons on the TV remote control. The panel provides an access to all main functions: turning the TV on and off, changing the volume, switching channels, the settings menu, etc.
You can have multiple remote controls, and then the tabs will appear on the screen for selecting the desired remote control.