Difference between revisions of "Weather"
Jump to navigation
Jump to search
(Marked this version for translation) |
(Marked this version for translation) |
||
| (One intermediate revision by the same user not shown) | |||
| Line 4: | Line 4: | ||
<ol class="l2"> | <ol class="l2"> | ||
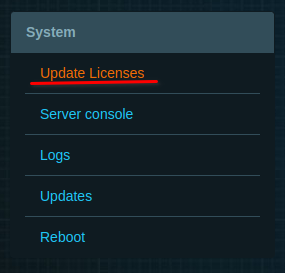
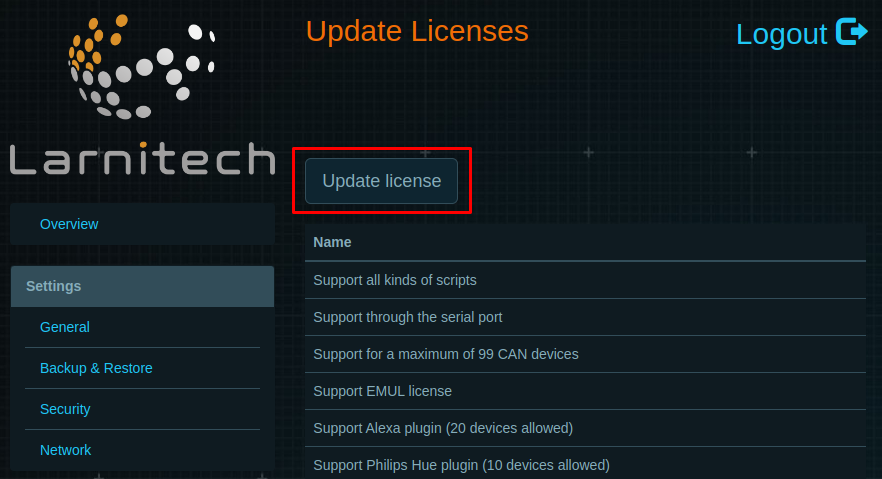
<li>Enter the "Update Licenses" section in LTSetup and press "Update license". Press "Ok" in the pop-up window. | <li>Enter the "Update Licenses" section in LTSetup and press "Update license". Press "Ok" in the pop-up window. | ||
| − | + | {|class="wikitable" | |
| + | |- | ||
| + | |[[File:weather1_1.png|300px]]||[[File:weather1_2.png|600px]] | ||
| + | |}</li> | ||
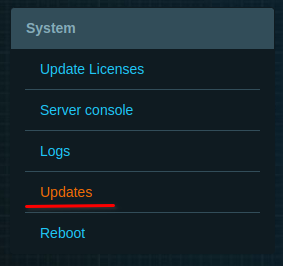
<li>Enter the "Updates" tab. Make sure that you have the latest version of LTSetup and LTServer installed. If your current version does not match the available one, press "Update" in the appropriate section. | <li>Enter the "Updates" tab. Make sure that you have the latest version of LTSetup and LTServer installed. If your current version does not match the available one, press "Update" in the appropriate section. | ||
| − | + | {|class="wikitable" | |
| − | <li> | + | |- |
| − | <br>[[File: | + | |[[File:weather2_1.png|300px]]||[[File:weather2_2.png|600px]] |
| − | <li>Enter the "Plugins" tab, find the "Weather" plugin section and press "Configure". | + | |}</li> |
| − | <br>[[File: | + | |
| + | <!--T:3--> | ||
| + | <li>Make sure you have the latest stable version of the in the "Weather" plugin section. | ||
| + | <br>[[File:weather3_1.png|600px]]<br></li> | ||
| + | |||
| + | <!--T:4--> | ||
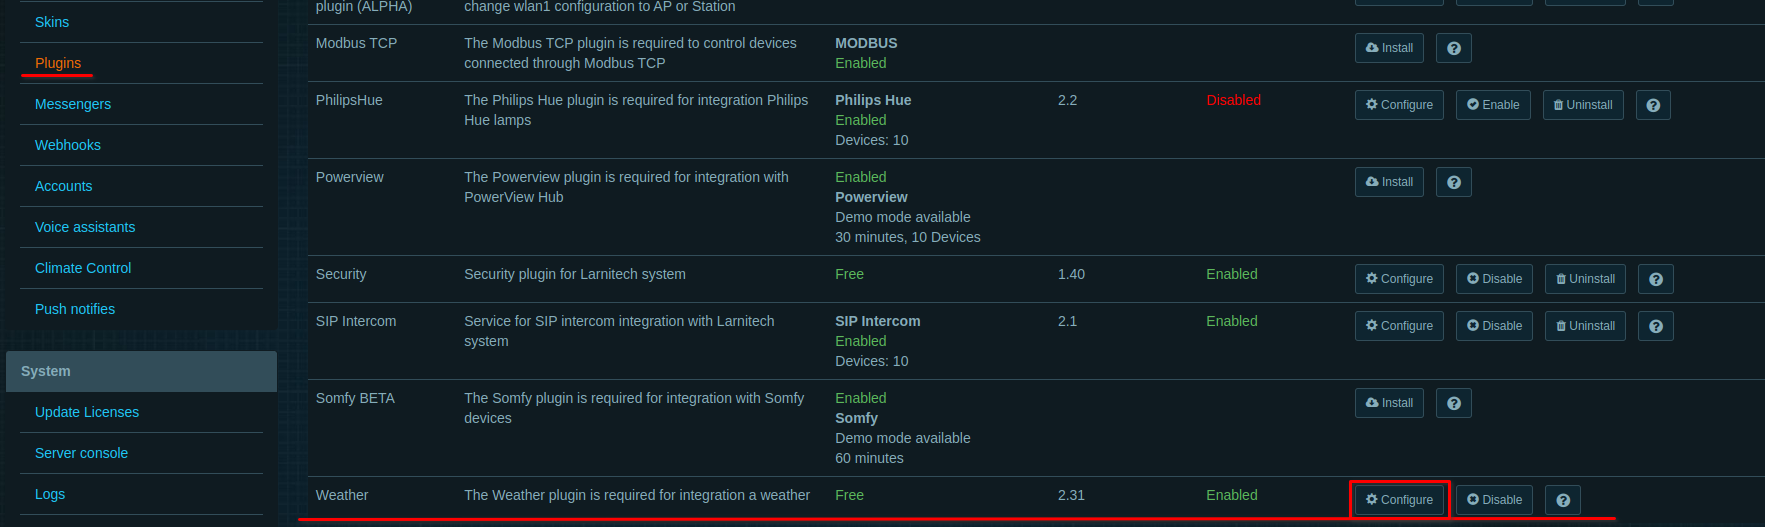
| + | <li>Enter the "Plugins" tab, find the "Weather" plugin section and press "Configure". | ||
| + | <br>[[File:weather4_1.png|1000px]]<br></li> | ||
| + | |||
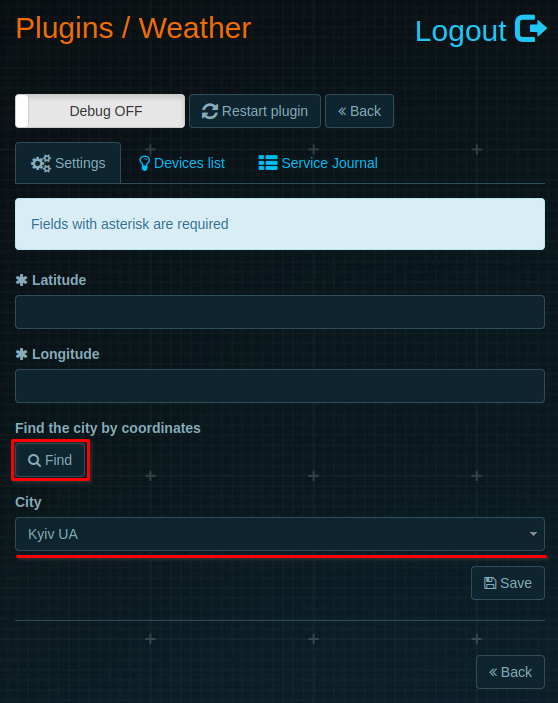
<li>Once the window is refreshed, press "Find" and choose your location in the drop-down list. Press "Save" and "Ok" in the pop-up window. | <li>Once the window is refreshed, press "Find" and choose your location in the drop-down list. Press "Save" and "Ok" in the pop-up window. | ||
| − | <br>[[File: | + | <br>[[File:weather5_1.png|300px]]<br> |
<ol> | <ol> | ||
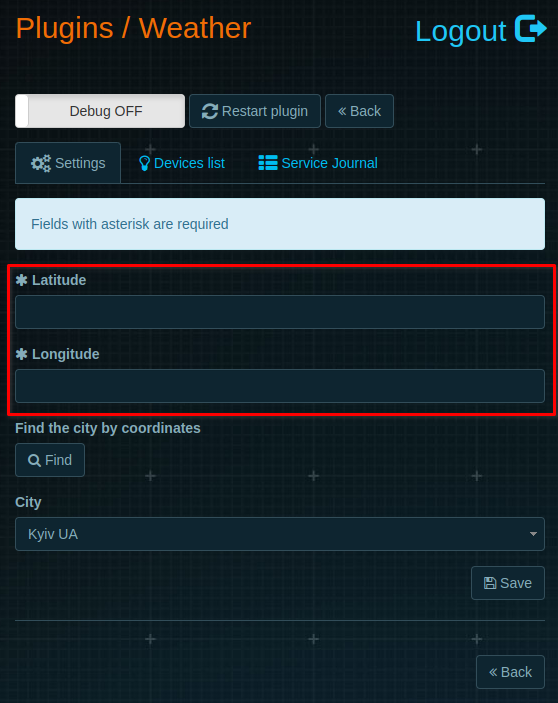
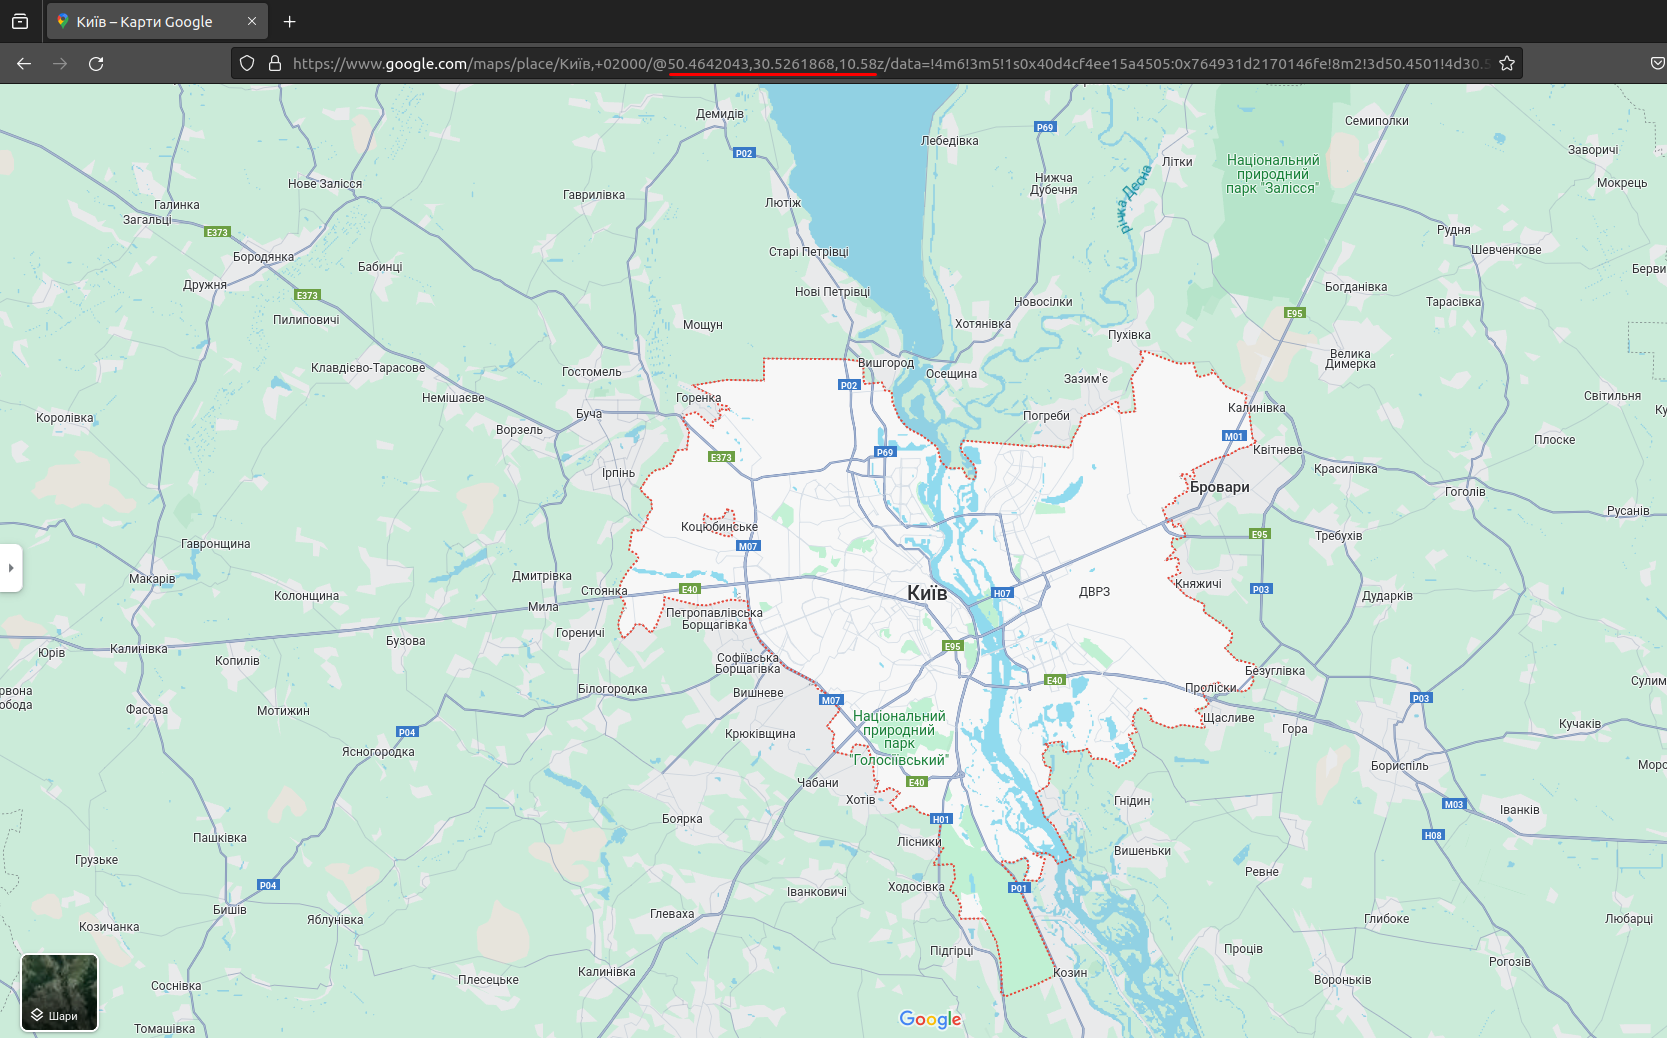
<li>You can also set your coordinates manually. For this, fill the fields "Latitude" and "Longitude". The values can be found by "Google maps" service by entering your address. Then press "Save" and then "Ok" in the pop-up window. | <li>You can also set your coordinates manually. For this, fill the fields "Latitude" and "Longitude". The values can be found by "Google maps" service by entering your address. Then press "Save" and then "Ok" in the pop-up window. | ||
| − | + | {|class="wikitable" | |
| − | + | |- | |
| − | [[File: | + | |[[File:weather5_2.png|350px]]||[[File:weather6_1.png|700px]] |
| + | |}</li> | ||
</li> | </li> | ||
</ol> | </ol> | ||
</li> | </li> | ||
| − | |||
| − | |||
<li>Enjoy your Larnitech weather plugin!</li> | <li>Enjoy your Larnitech weather plugin!</li> | ||
</ol> | </ol> | ||
Latest revision as of 15:52, 17 November 2023
- Enter the "Update Licenses" section in LTSetup and press "Update license". Press "Ok" in the pop-up window.
- Enter the "Updates" tab. Make sure that you have the latest version of LTSetup and LTServer installed. If your current version does not match the available one, press "Update" in the appropriate section.

- Make sure you have the latest stable version of the in the "Weather" plugin section.

- Enter the "Plugins" tab, find the "Weather" plugin section and press "Configure".
- Once the window is refreshed, press "Find" and choose your location in the drop-down list. Press "Save" and "Ok" in the pop-up window.
- You can also set your coordinates manually. For this, fill the fields "Latitude" and "Longitude". The values can be found by "Google maps" service by entering your address. Then press "Save" and then "Ok" in the pop-up window.
- You can also set your coordinates manually. For this, fill the fields "Latitude" and "Longitude". The values can be found by "Google maps" service by entering your address. Then press "Save" and then "Ok" in the pop-up window.
- Enjoy your Larnitech weather plugin!
Lighting sensor description
The readings of weather plugin's lighting sensor (999:1) correspond to the astronomical position of the sun. The readings change during the day as follows: two hours before dawn 0% -> sensor readings start to increase -> 25% dawn -> 100% sun at the zenith -> sensor readings decrease -> 25% dusk -> 0% two hours after dusk and stay at 0% until two o'clock until dawn